Your Cart is Empty
Menu


Mouthguard Design Stages: Specific Design Tips
September 12, 2023 3 min read
In part one of this two-part blog series, we discussed some of the initial steps you'll take when looking for a high-quality custom mouthguard for yourself, your child or anyone else in your life who requires one. From finding a reputable mouthguard partner to understanding the software they use for their custom mouthguard designs and more, there are a few important stages of this process to be aware of.
At Damage Control Mouthguards, we offer the option for clients to design their own mouthguard in a huge variety of styles, colors, sizes and more. Today's part two will go over some other basic stages in this process that you should know about before you get started.
Base Color Selection
Once you're getting into the actual process of designing your custom mouthguard, the first step is to select a base color. You have a wide range of options here, from primary colors to more muted and understated shades, so you can really get creative with your design.
One important consideration when selecting a base color is its potential for complementary and contrasting colors. Bright and bold colors are great for really making a statement, but be sure to consider how any additional customizations will look against the base color before you commit.
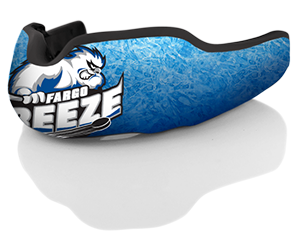
Logo or Image Creation
For many athletes or teams, designing their own logo is a fun and exciting part of creating a custom mouthguard. You can either create your own design from scratch or use an existing image or logo for your design. You will need to work with the mouthguard partner you select to ensure they have the necessary software and tools to make this happen, so be sure to ask them about it before you dive into designing!
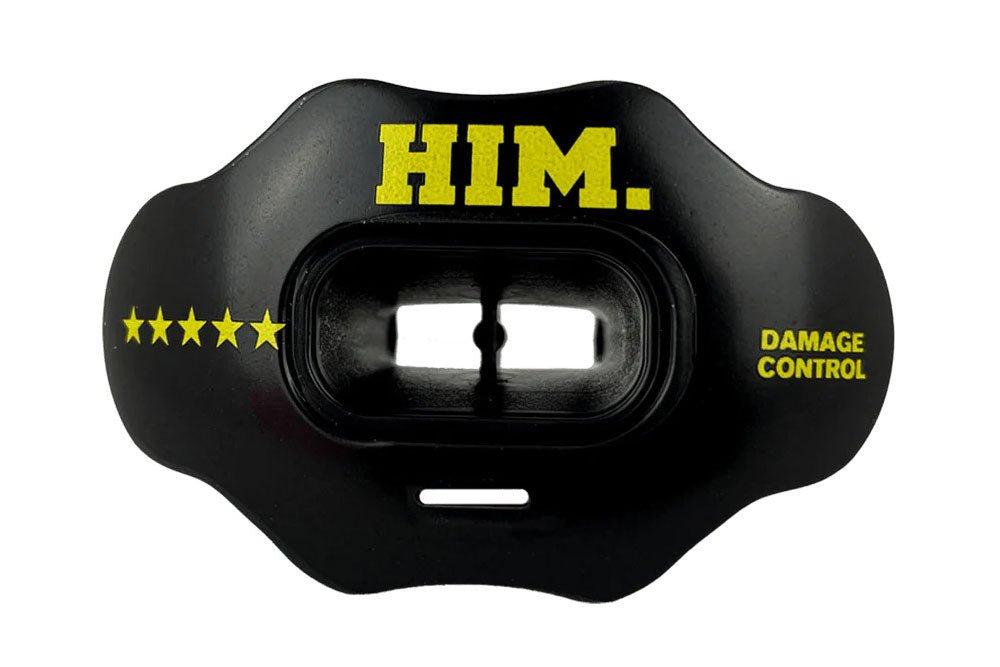
Text Additions
Depending on your desires for your custom mouthguard, you may also choose to add text to the design. Again, you'll want to make sure that your mouthguard partner has tools for this before proceeding so that you can get the best results possible. You can use a variety of fonts and typefaces to really customize your look and make it unique.
Secondary Colors
Once you've chosen your base color, you can then move on to the secondary color selection. This is where you can really get creative with your design and mix and match colors to create a one-of-a-kind look. You have full control over how many secondary colors you choose to add and where they go, so take your time and experiment with different looks until you find something you love.
Save and Finalize
Finally, you'll want to save and finalize your design before you proceed. Make sure that all of the colors, logos and text are exactly as you'd like them to be before continuing on with the process. This will help ensure a smooth transition from design to manufacture.
Now that you understand some of the basic stages of creating a custom mouthguard design, you can get started on creating the perfect custom mouthguard for you or your athlete! Get ready to show off your unique design and have some fun in the process.
At Damage Control Mouthguards, we have a wide variety of options to help you create the perfect custom mouthguard for any athlete in your life. With our easy-to-use design tools and our superior quality materials, you can be sure that your custom mouthguard will provide maximum protection and look great too! Contact us today to learn more about our custom mouthguards.